Tutorial 2: Adding Graphics
In this tutorial, you will learn how to use graphics in your project using RoboHELP.
Finding a Graphic
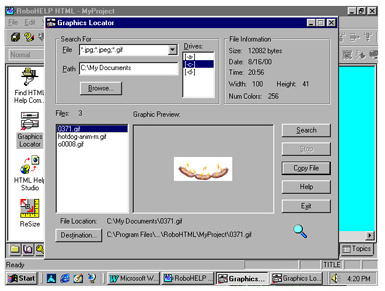
1. Click the Tools tab, which is the toolbox icon located near the bottom of the left pane.
2. Double-click the Graphics Locator icon
3. Under Search For, File, select *.gif, .jpg, *.bmp... (it should be the default)
4. Click Browse. Select a folder on your computer where you know a GIF or JPG graphic is.
5. If the Destination is not defaulted to: C:\ProgramFiles/RoboHELPOffice/RoboHTML/MyProject, open files/folders until you get to that location and click OK (see figure below).
6. Click the Search button and select a graphic name that appears in the left-hand window.
7. Click Copy File. The image should be copied to the Images in Project folder.
8. Click Exit.
