Tutorial 4: Adding Splash Screens and Popup Hyperlinks
In this tutorial, you will learn how to create a splash screen for your HTML project as well as a popup hyperlink.
Creating a Splash Screen
1. Click the Toolbox icon near the bottom of the left pane.
2. Double-click the Graphics Locator icon and copy a GIF graphic to your RoboHELP project folder. (See Tutorial 2: Adding Graphics to the Project)
3. Position the cursor somewhere in the right pane where you want the splash screen to appear.
4. Select Insert > HTML Help > Splash Screen
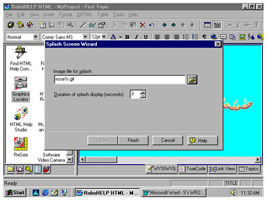
5. Click the Open File icon in the Splash Screen Wizard. This opens the Graphics Locator.
6. Set the Path the same as the Destination: C:\ProgramFiles/RoboHELPOffice/RoboHTML/MyProject
7. Select the image you want for your splash screen.
8. Set the Duration of splash display (seconds) to 3 (see figure to right).
9. Click Finish. A small red-outlined box with "Splash" in it should appear where you wanted the splash screen.
10. To view your splash screen or see what your webpage will look like:
· Click the Generate Primary Target icon. It's the yellow question mark icon to the right of the save icon.
· Click the Run Primary Target icon (the book with the question mark, located to the right of the Generate Primary Target icon). This will show your project as the user would see it.